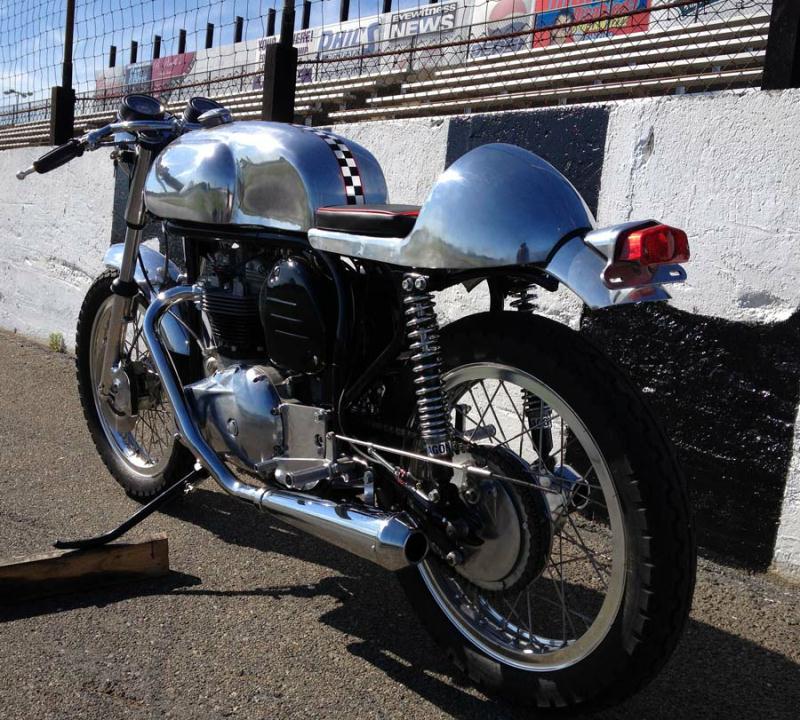
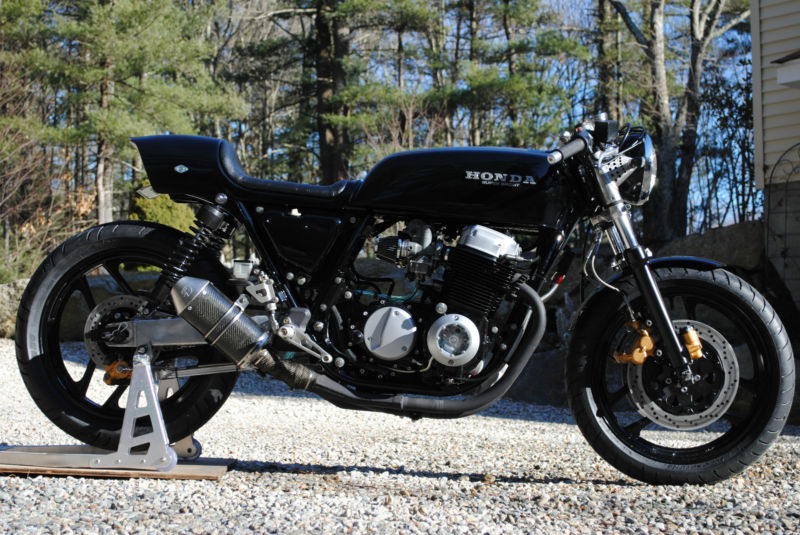
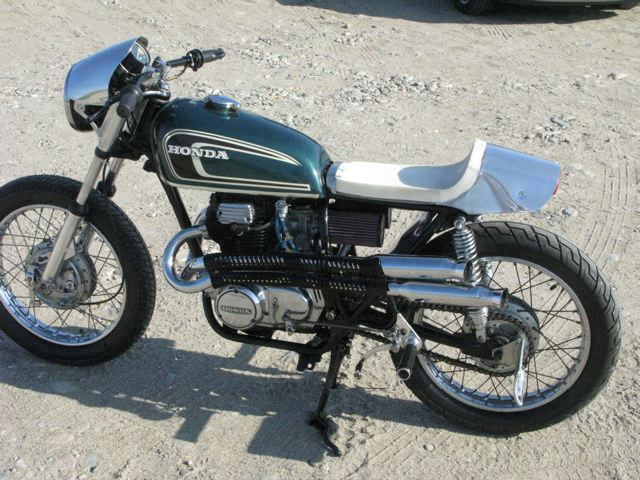
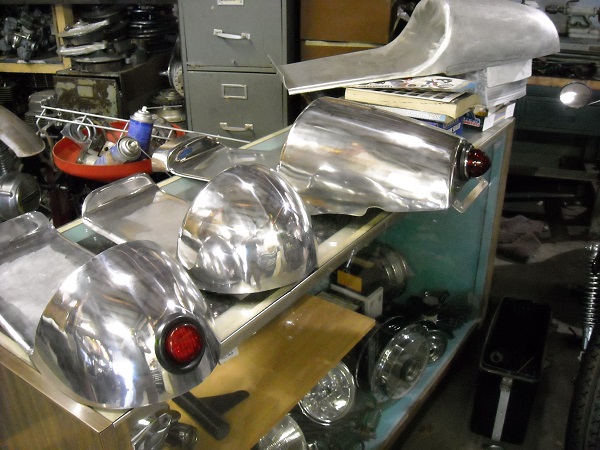
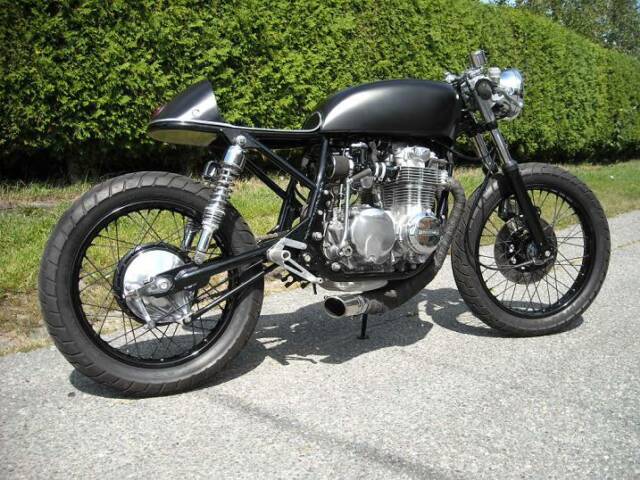
Hand crafted aluminum cafe racer parts. Just about everything we build is one of a kind, formed by hand to fit your bike the way it should. If you like something you see here, or have a design in mind, we will build which ever it is. These parts are made mostly from 6061 and 1100 series aluminum, 16 gauge - 14 gauge. Our parts are fully TIG welded, shaped with a beating bag, plannishing hammer and an English wheel. This is the way it was done when cafe racers were born, so keep the craft of hand formed metal alive and dont settle for a fiberglass knock off. Here are some examles of our work
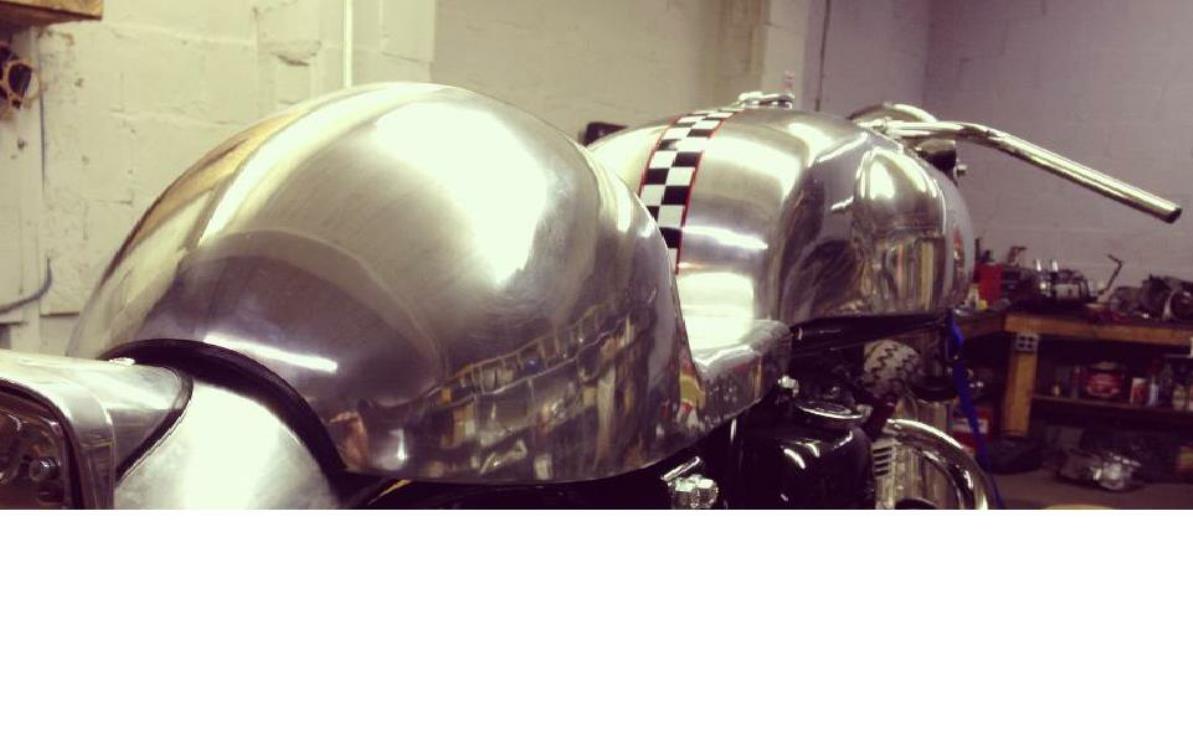
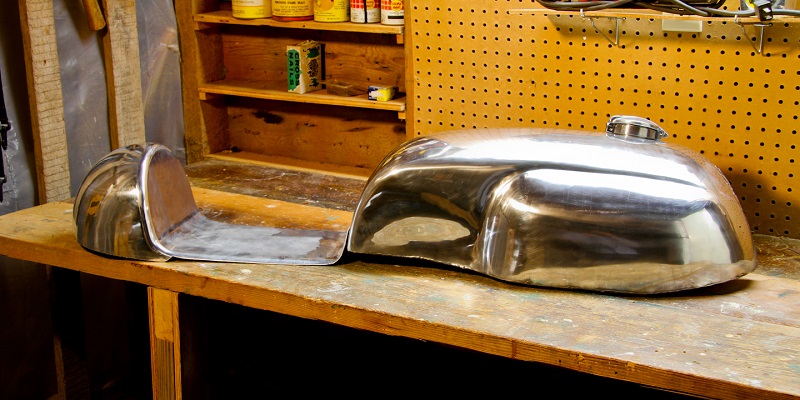
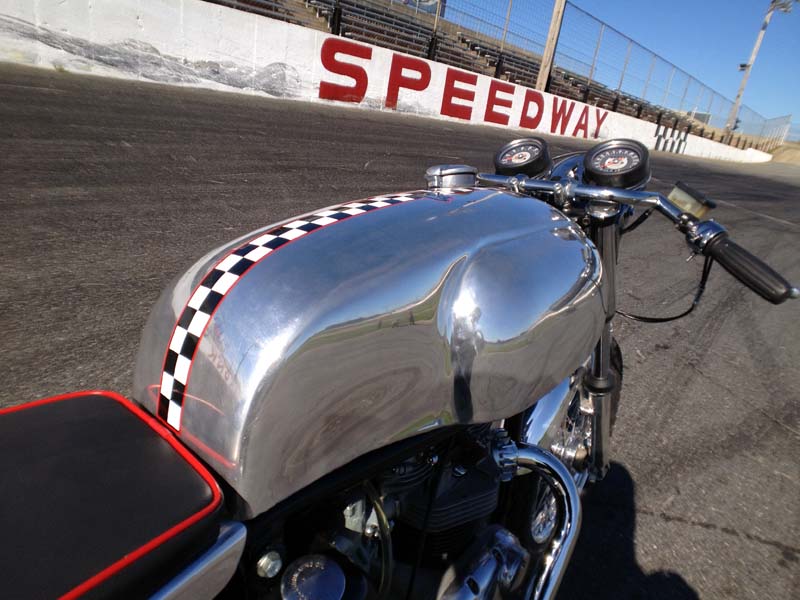
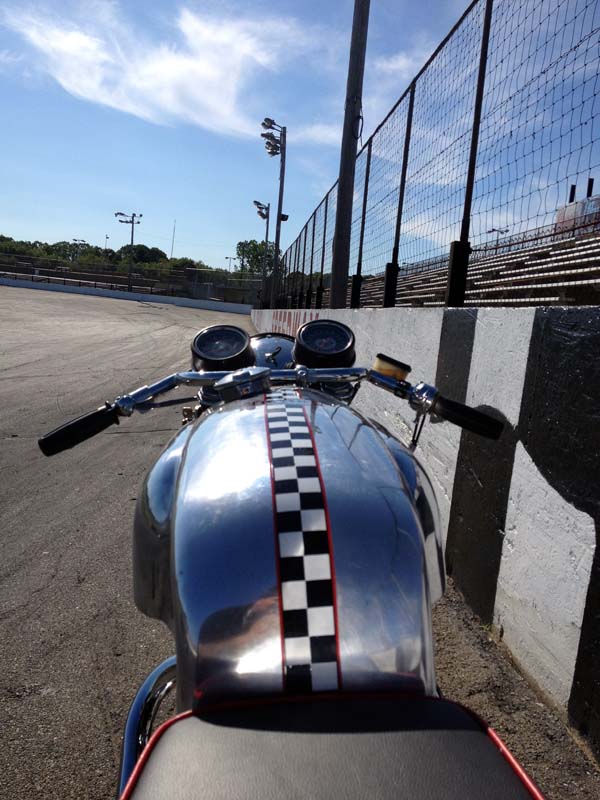
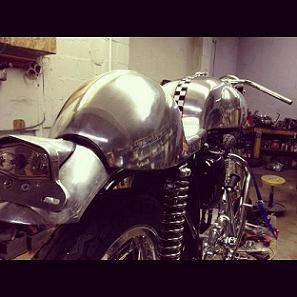
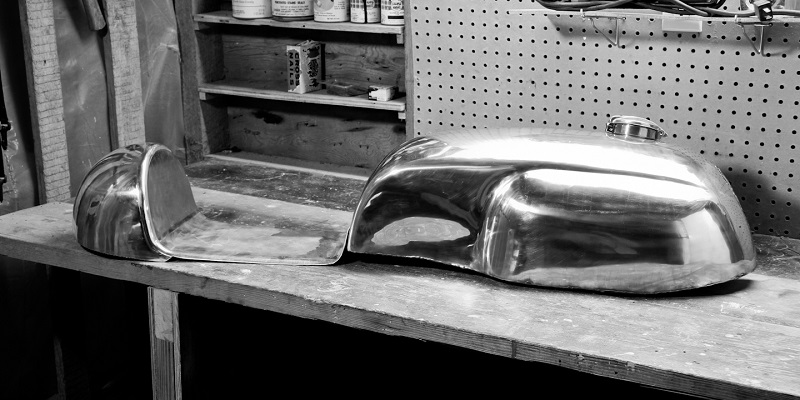
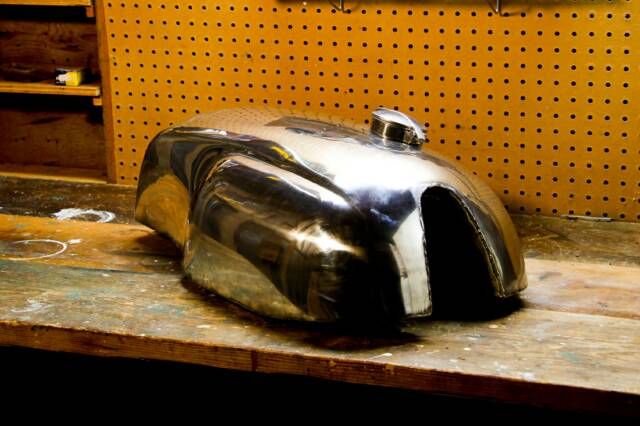
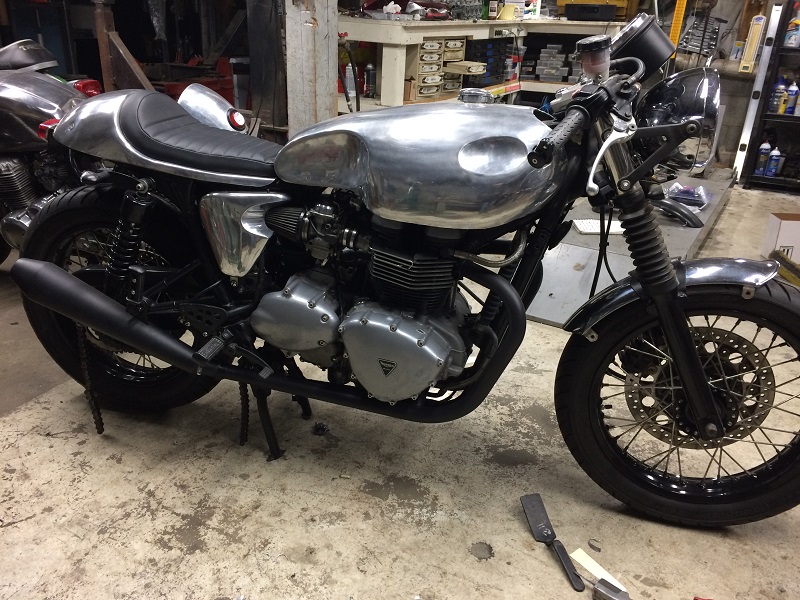
Norton "Manx" Style Alloy Tank


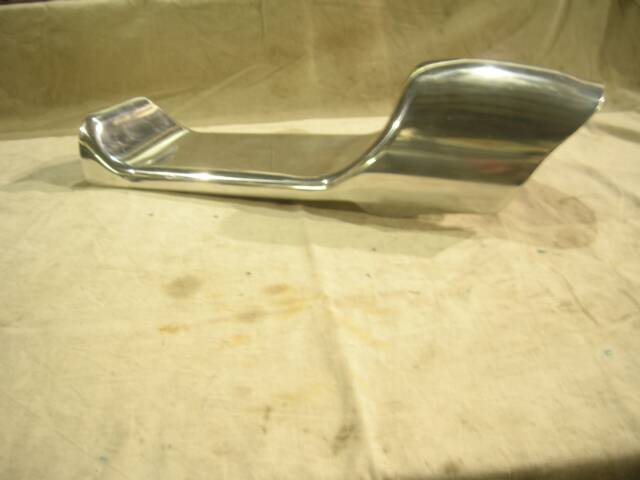
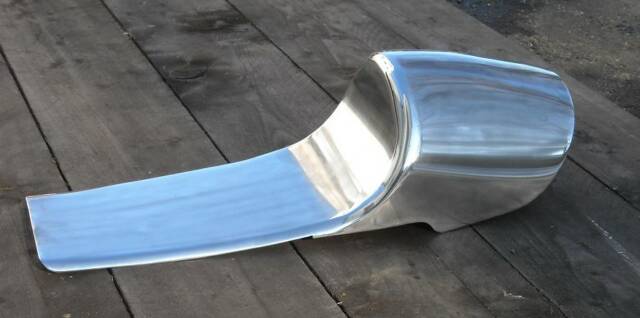
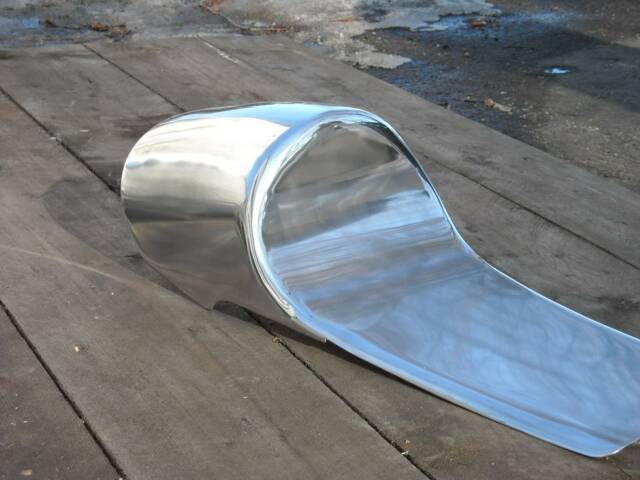
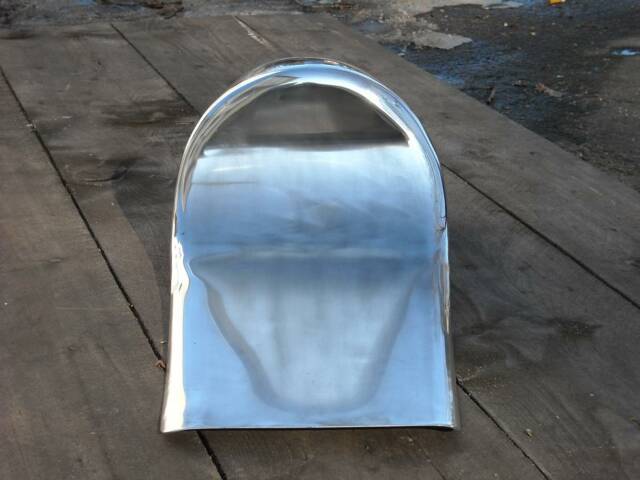
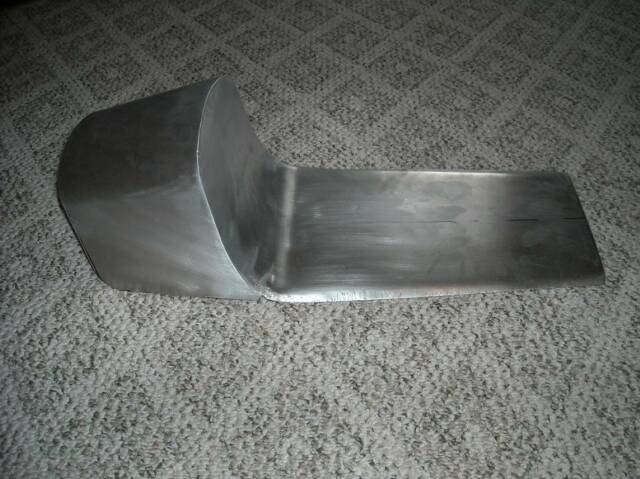
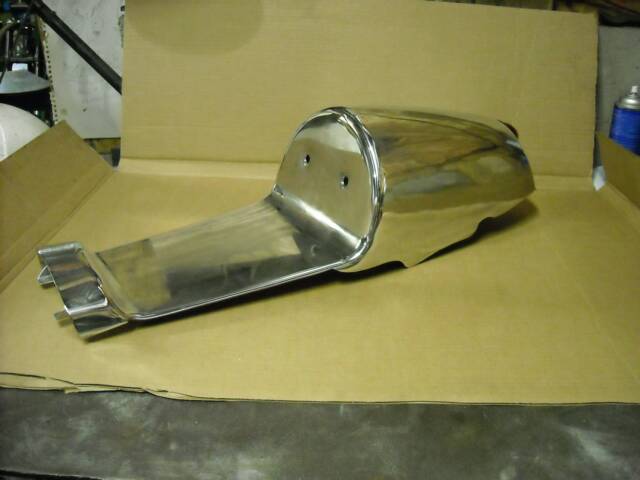
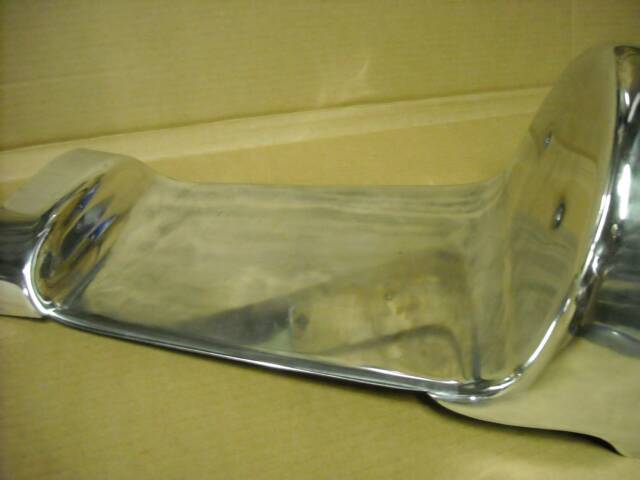
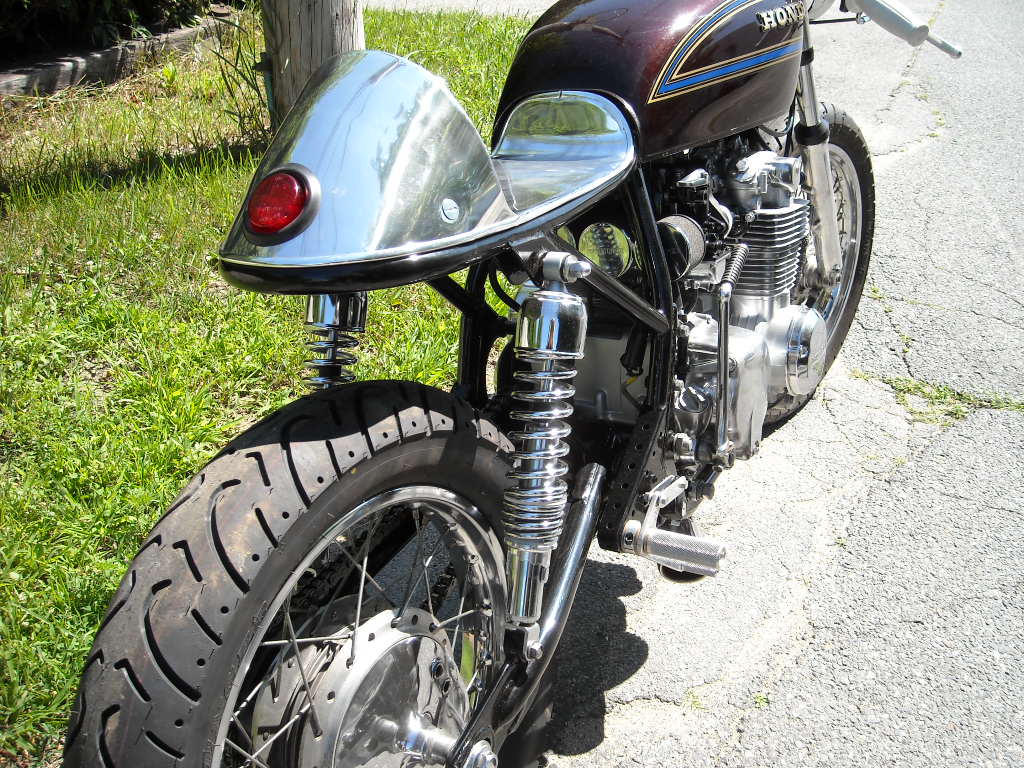
Series 1 - Round open back
Description:
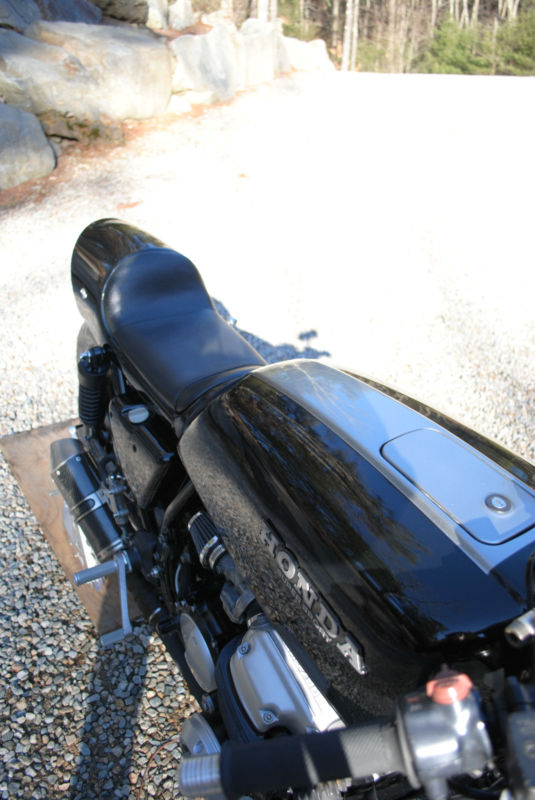
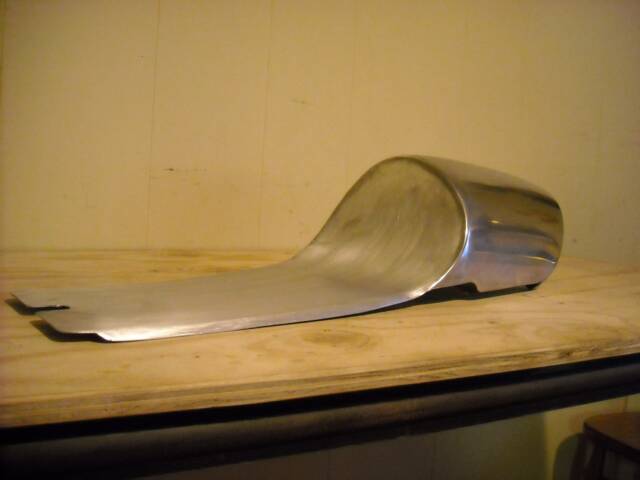
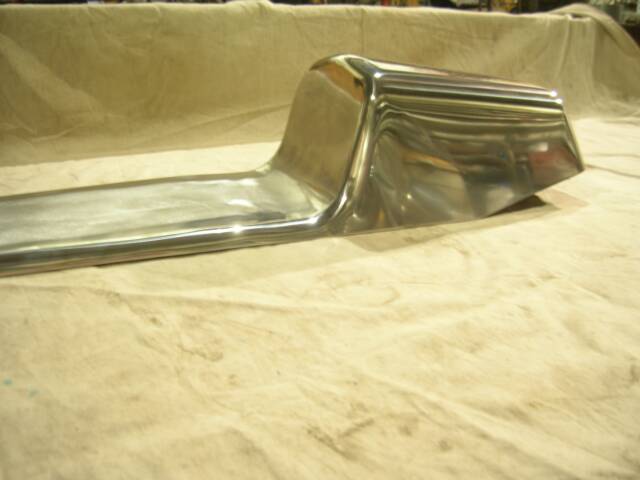
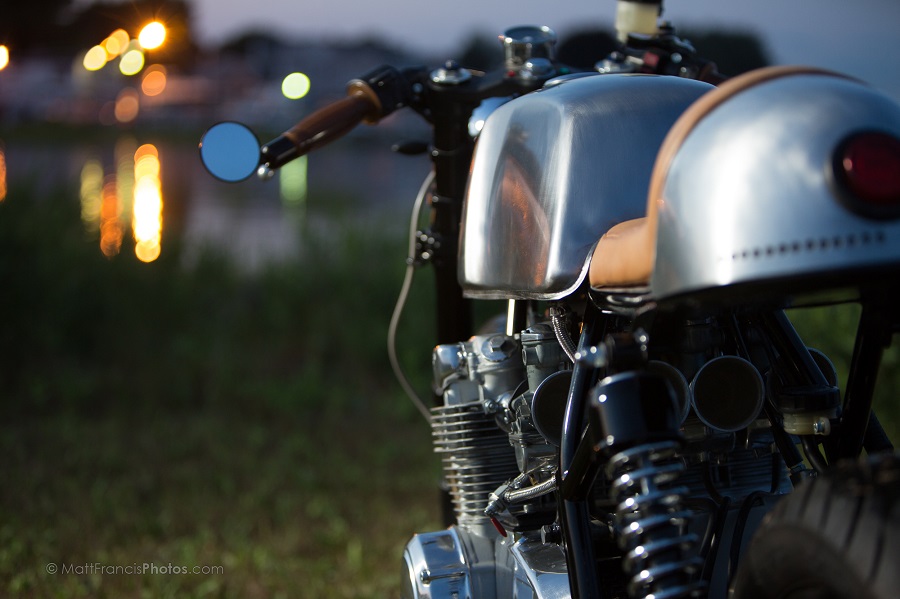
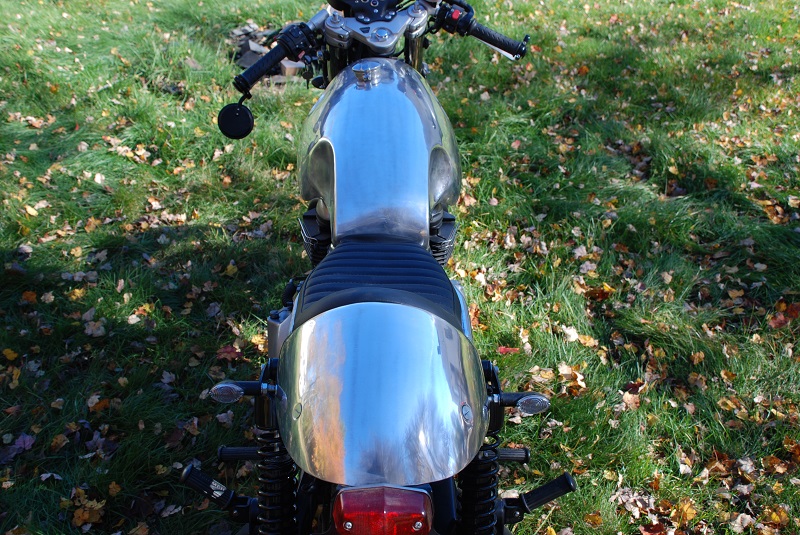
Rounded, open back seat fairing with compound curve, which means these seats are beaten up with a mallet and smoothed out with an English wheel. The seams are hand hammered over special dollies and TIG welded both inside and out, then smoothed to a mirror finish for one seamless piece. This seat wraps around the top frame rail and has a fully formed front lip.
Mounting:
Tools Required:
Grinder, drill, MIG or TIG welder, rivet gun
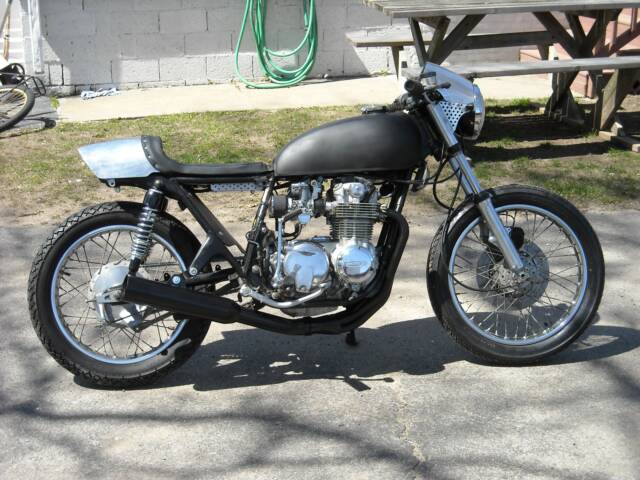
If you know how to use these tools, then mounting is easy. There's a tab on the front of the seat which slides in under the rubber tank mount, holding the front of the seat in place. Dzus fasteners are welded to the frame in the rear for quick and easy removal.
FAQ:
There is enough room for a smaller sized battery and / or electronics to be mounted under the cowl.
A separate pan is made to fit on sitting area which is upholstered separately and velcro-ed on. Or a rubber or foam pad can be glued down.
Description:
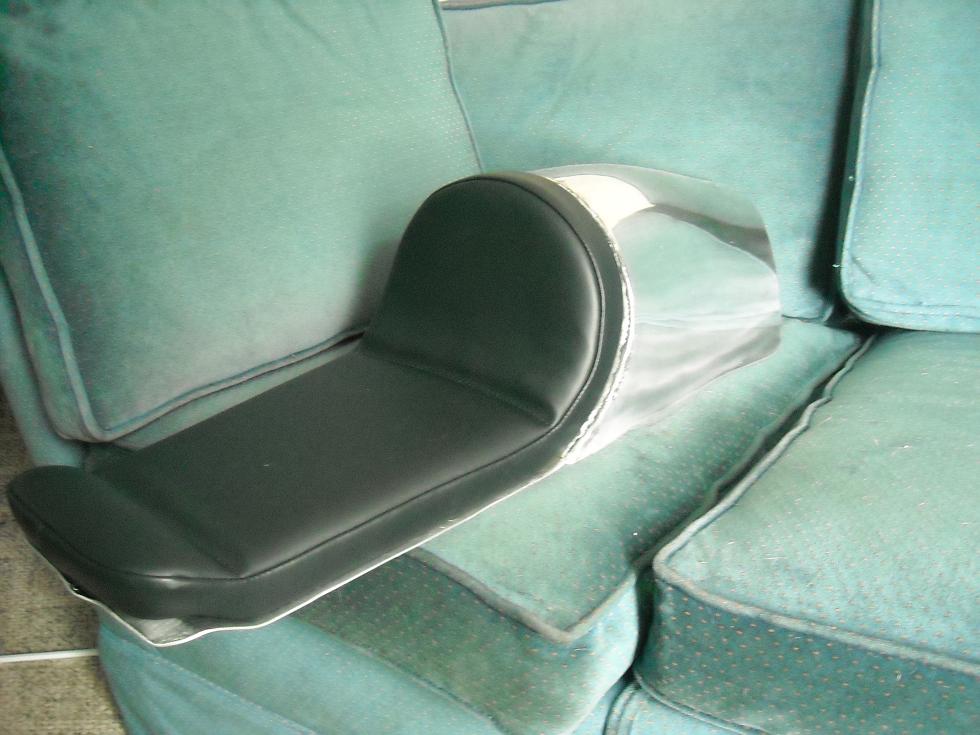
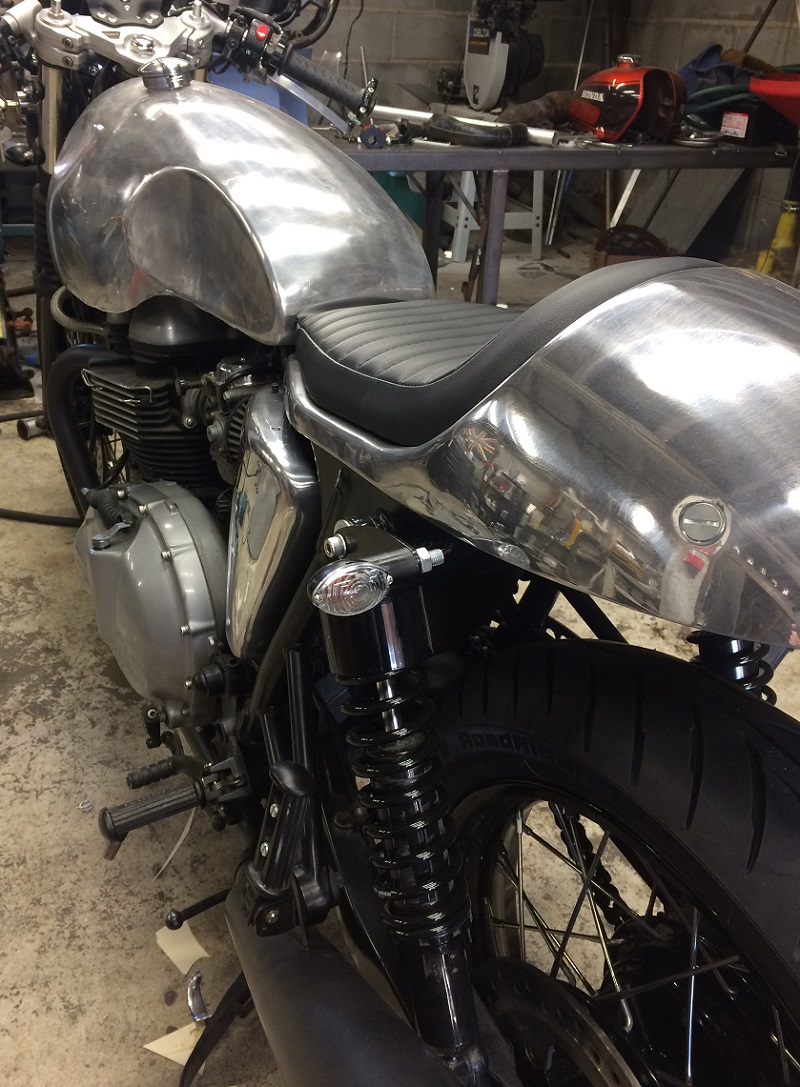
Rounded, open back seat fairing with compound curve. Formed with a beating bag, air powered hammer and an English wheel. With seamless hand rolled edge This seat sits on top of the frame rail and is built to fit your bike

Description:
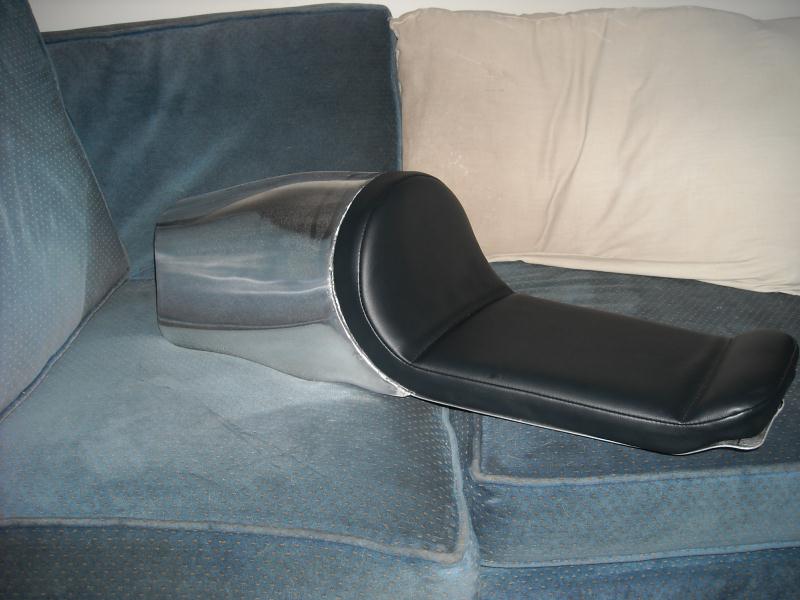
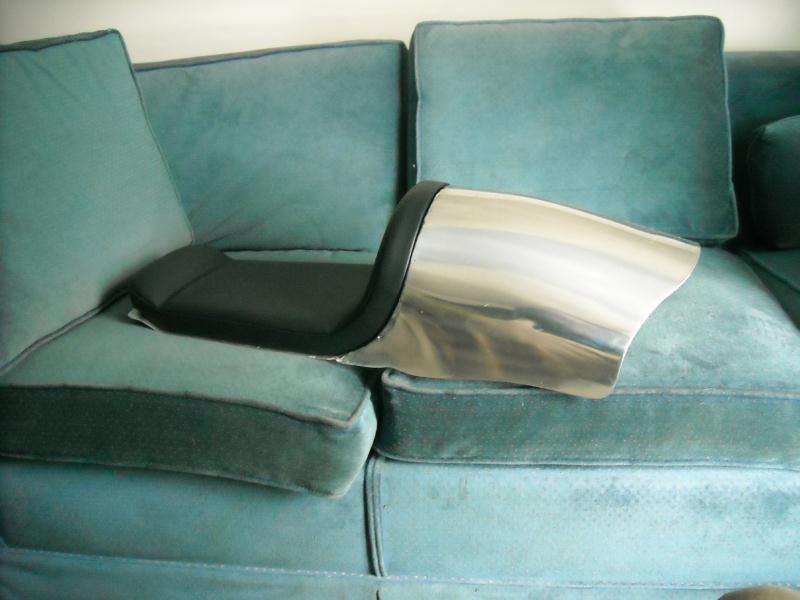
Rounded, open back seat fairing with compound curve. Formed with a beating bag, air powered hammer and an English wheel. This seat has a square edge between the sitting area and the fairing, some weld may be visible. sits on top of the frame rail and is built to fit your bike
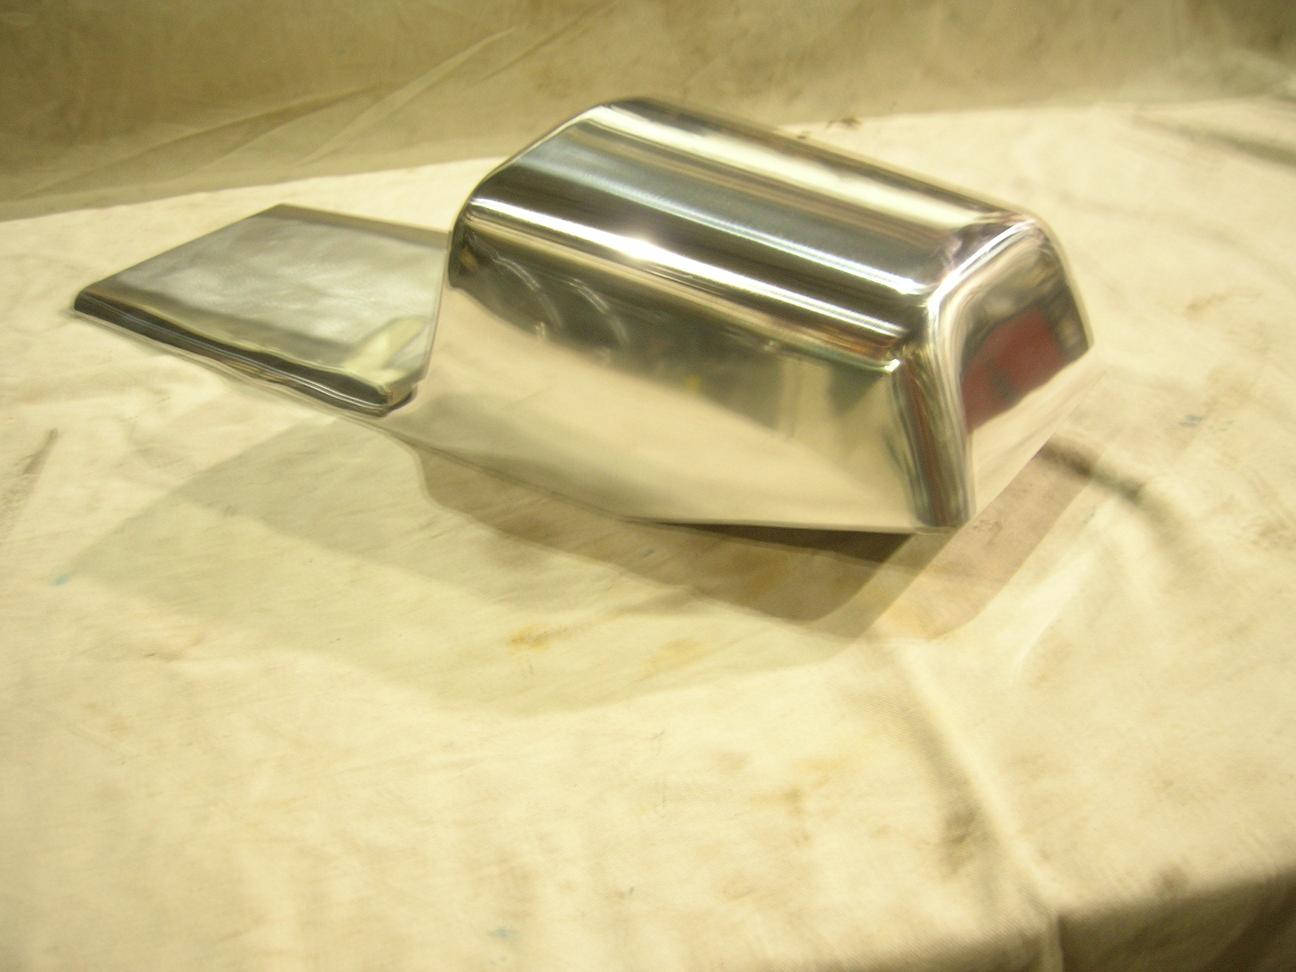
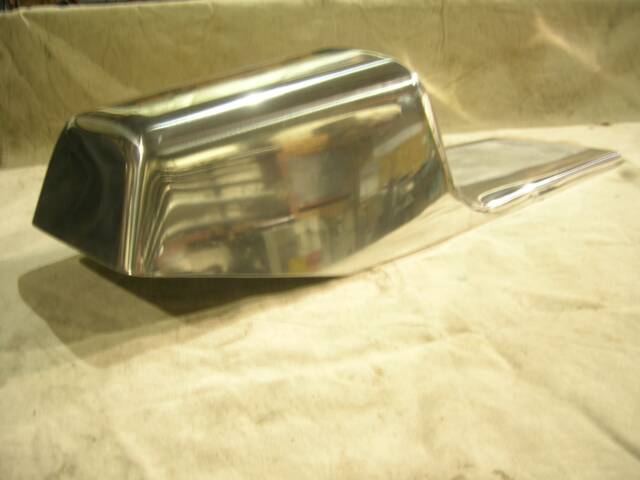
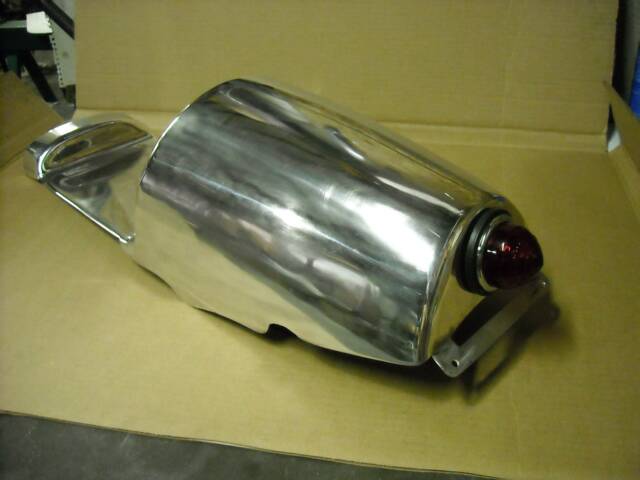
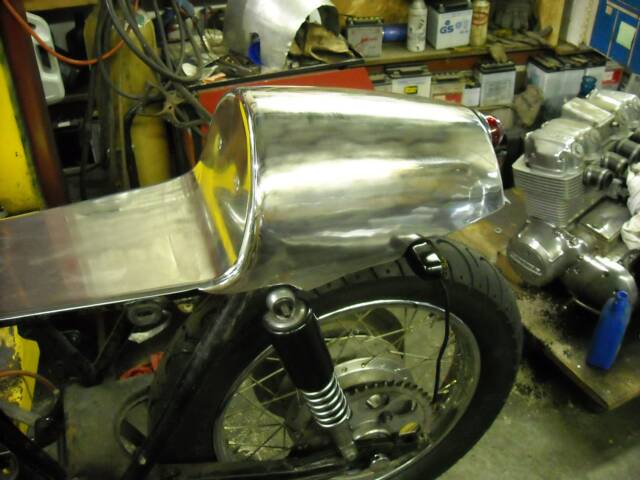
Series 2 - Toaster Closed Back


Mounting:
Tools Required:
Grinder, drill, MIG or TIG welder, rivet gun
If you know how to use these tools, then mounting is easy. A tab on the front of the seat slides in under the rubber tank mount, holding the front of the seat in place. Dzus fasteners are weled to the frame in the rear for quick and easy removal.
FAQ:
There is enough room for a smaller sized battery and / or electronics to be mounted under the cowl.
A seperate pan is made to fit on sitting area which is upholstered seperatly and velcro-ed on. Or a rubber or foam pad can be glued down
Description:
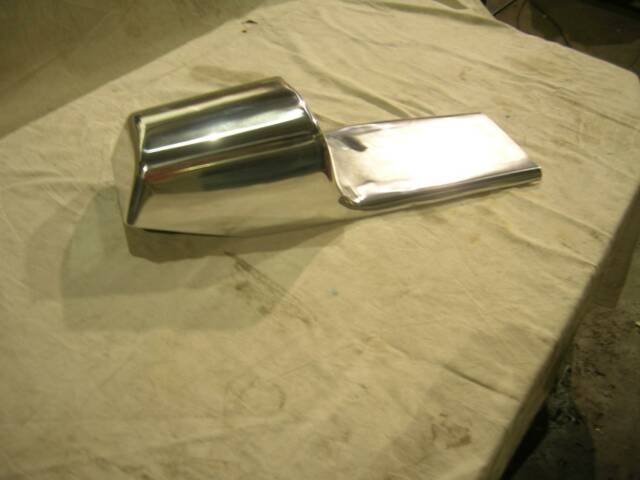
Square, closed back seat fairing. Hand formed seams sits on top of the frame rail or bent around to cover tube

Description:
Square, open back seat fairing. This seat has a square edge between the sitting area and the fairing, some weld may be visible. Designed to have upholstery installed up over the back as seen. sits on top of the frame rail
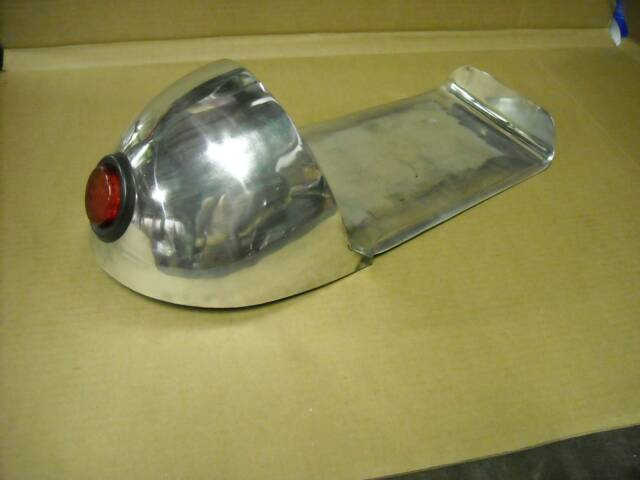
Series 3 - Bubble Back
Description:
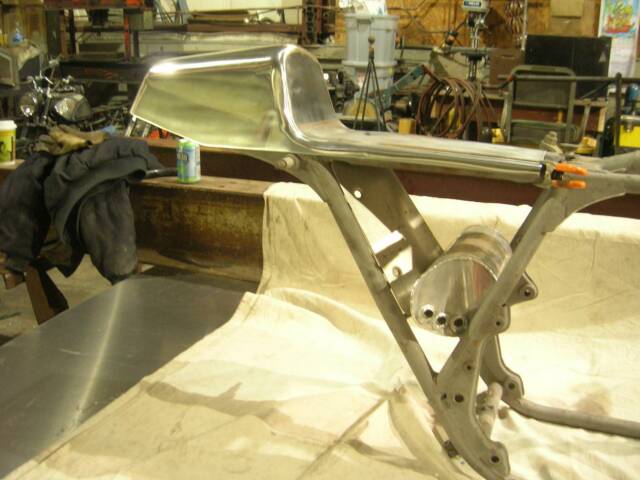
Bubble Back seat fairing. This is a real custom seat built to fit the contours of a frame with a rear hoop. This seat is available with either a square edge between the sitting area and the fairing, or a hand formed rounded edge. sits on top of the frame rail
Mounting:
Tools Required:
Grinder, drill, MIG or TIG welder, rivet gun
If you know how to use these tools, then mounting is easy. A tab on the front of the seat slides in under the rubber tank mount, holding the front of the seat in place. Dzus fasteners are weled to the frame in the rear for quick and easy removal. It can be a difficult task to build and mount a rear hoop on your frame. this should be done by a professional
FAQ:
There is enough room for a smaller sized battery and / or electronics to be mounted under the cowl.
A seperate pan is made to fit on sitting area which is upholstered seperatly and velcro-ed on. Or a rubber or foam pad can be glued down
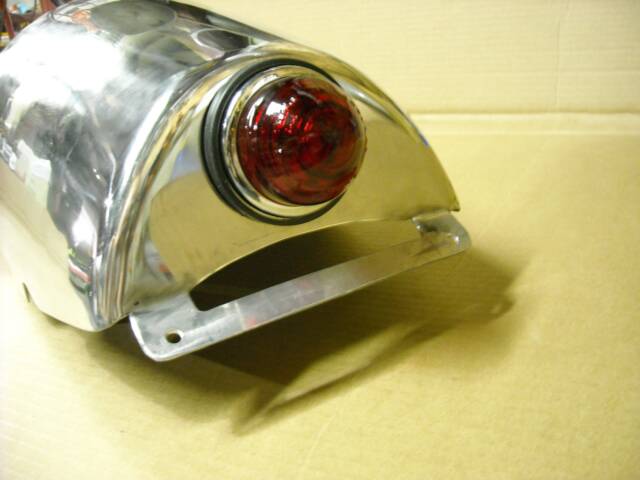
The holes along the back side of the seat are for directionals
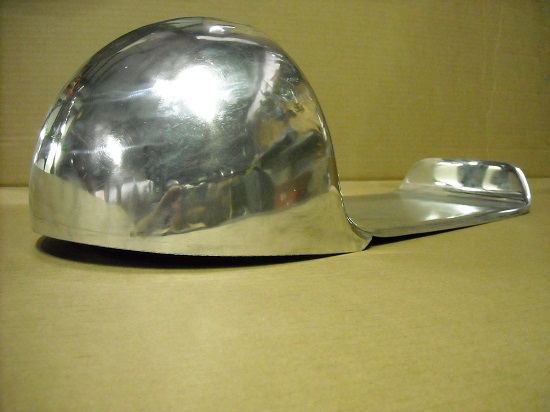


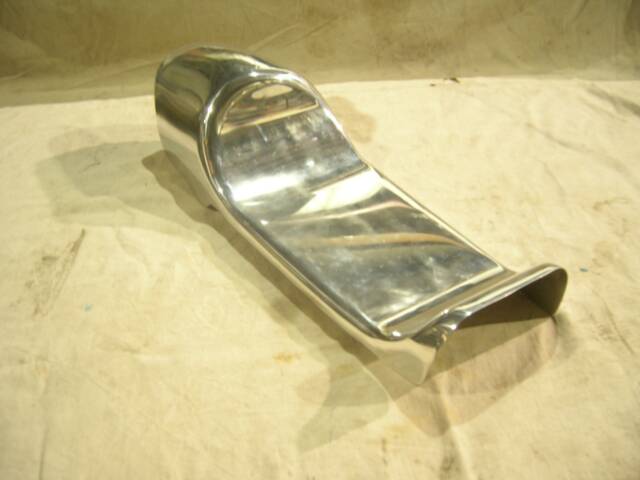
Series 4 - Round Closed Back
Description:
Rounded, closed back seat fairing with compound curve, which means these seats are beaten up with a mallet and smoothed out with an English wheel. The seams are hand hammered over special dollies and TIG welded both inside and out, then smoothed to a mirror finish for one seamless piece. This seat has a fully formed front lip.
Mounting:
Tools Required:
Grinder, drill, MIG or TIG welder, rivet gun
If you know how to use these tools, then mounting is easy. A tab on the front of the seat slides in under the rubber tank mount, holding the front of the seat in place. Dzus fasteners are weled to the frame in the rear for quick and easy removal.
FAQ:
There is enough room for a smaller sized battery and / or electronics to be mounted under the cowl.
A seperate pan is made to fit on sitting area which is upholstered seperatly and velcro-ed on. Or a rubber or foam pad can be glued down
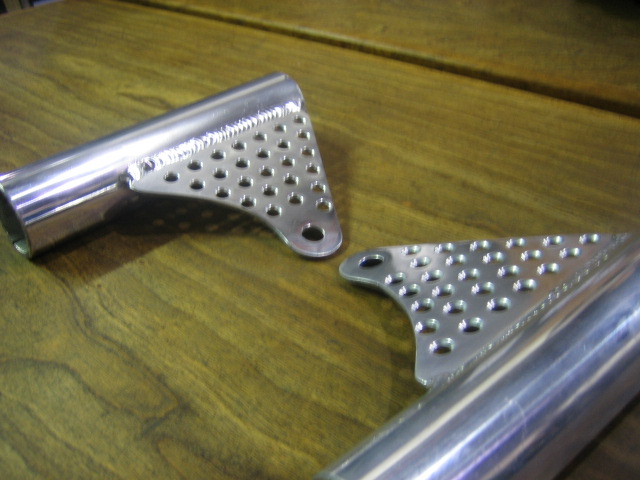
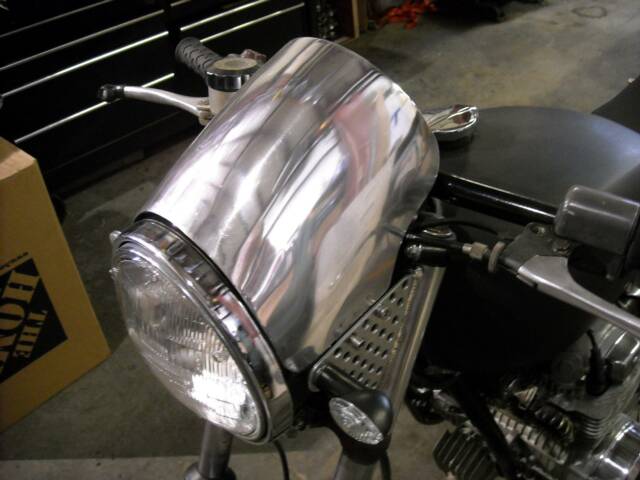
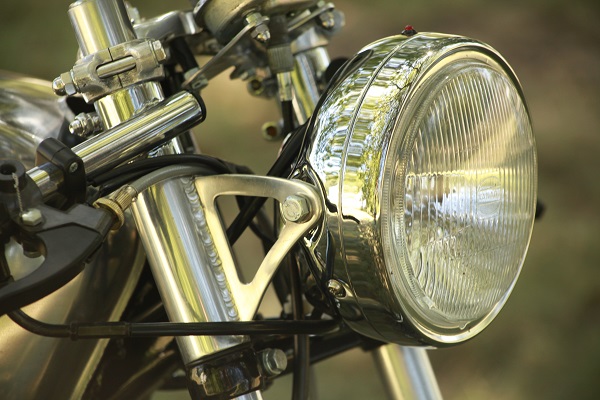
Aluminum Headlight Ears


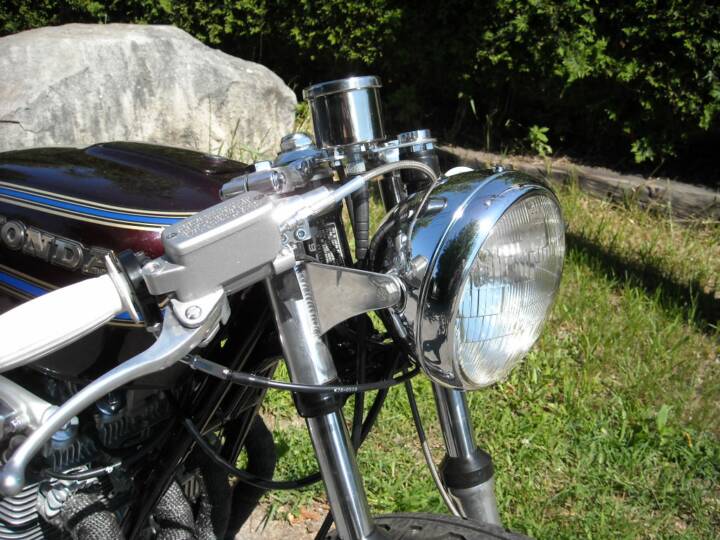
Series 5 - Rounded slant back


Description:
These headlight ears are made to fit 33mm or 35mm front forks. They are made from 6061 aluminum and are fully TIG welded. You can choose from many different styles, drilled or solid.
Mounting:
Tools Required:
Grinder, drill, MIG or TIG welder, rivet gun
If you know how to use these tools, then mounting is easy. A tab on the front of the seat slides in under the rubber tank mount, holding the front of the seat in place. Dzus fasteners are weled to the frame in the rear for quick and easy removal.
FAQ:
There is enough room for a smaller sized battery and / or electronics to be mounted under the cowl.
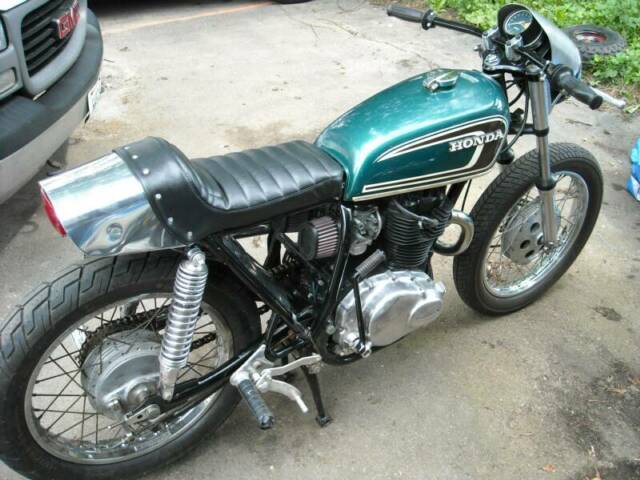
A seperate pan can be made to fit on sitting area which is upholstered seperatly and velcro-ed on. Or a rubber or foam pad can be glued down, or like this example shows, the upholstery is mounted and riveted to the actual seat pan
Installation:
Tools Required:
Basic Hand tools, adjustable wrench
Just remove hradlight bucket, top triple tree, & the old headlight ears (some models require you to remove the front forks before removing headlight ears), then slide your new headlight ears in place and your building a cafe racer.
Click here for more installation help
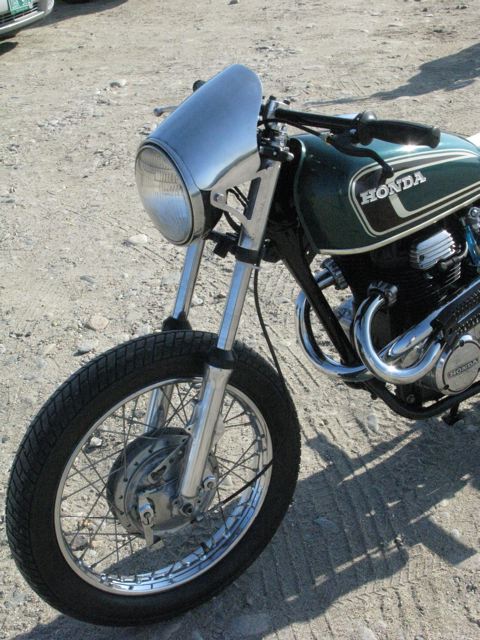
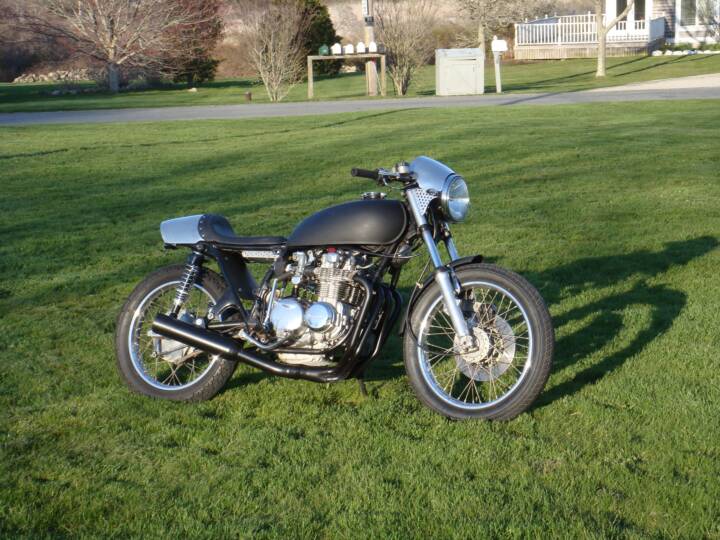
Windscreen Fairing
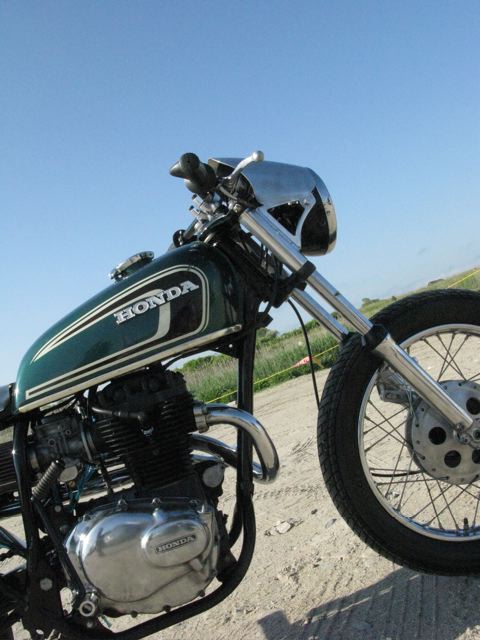
Description:
Our Windscreen fairings are super low profile. I developed these from my hatred of those oversized plastic viper fairings
Designed to go with a set of our alloy headlight ears. Can be welded or bolted.
I prefer to build these fairings for bikes that I am building here in the shop to insure it is mounted correctly. Call for more details


Description:
Light weight
Different designs available
no modification to bike
All Aluminum
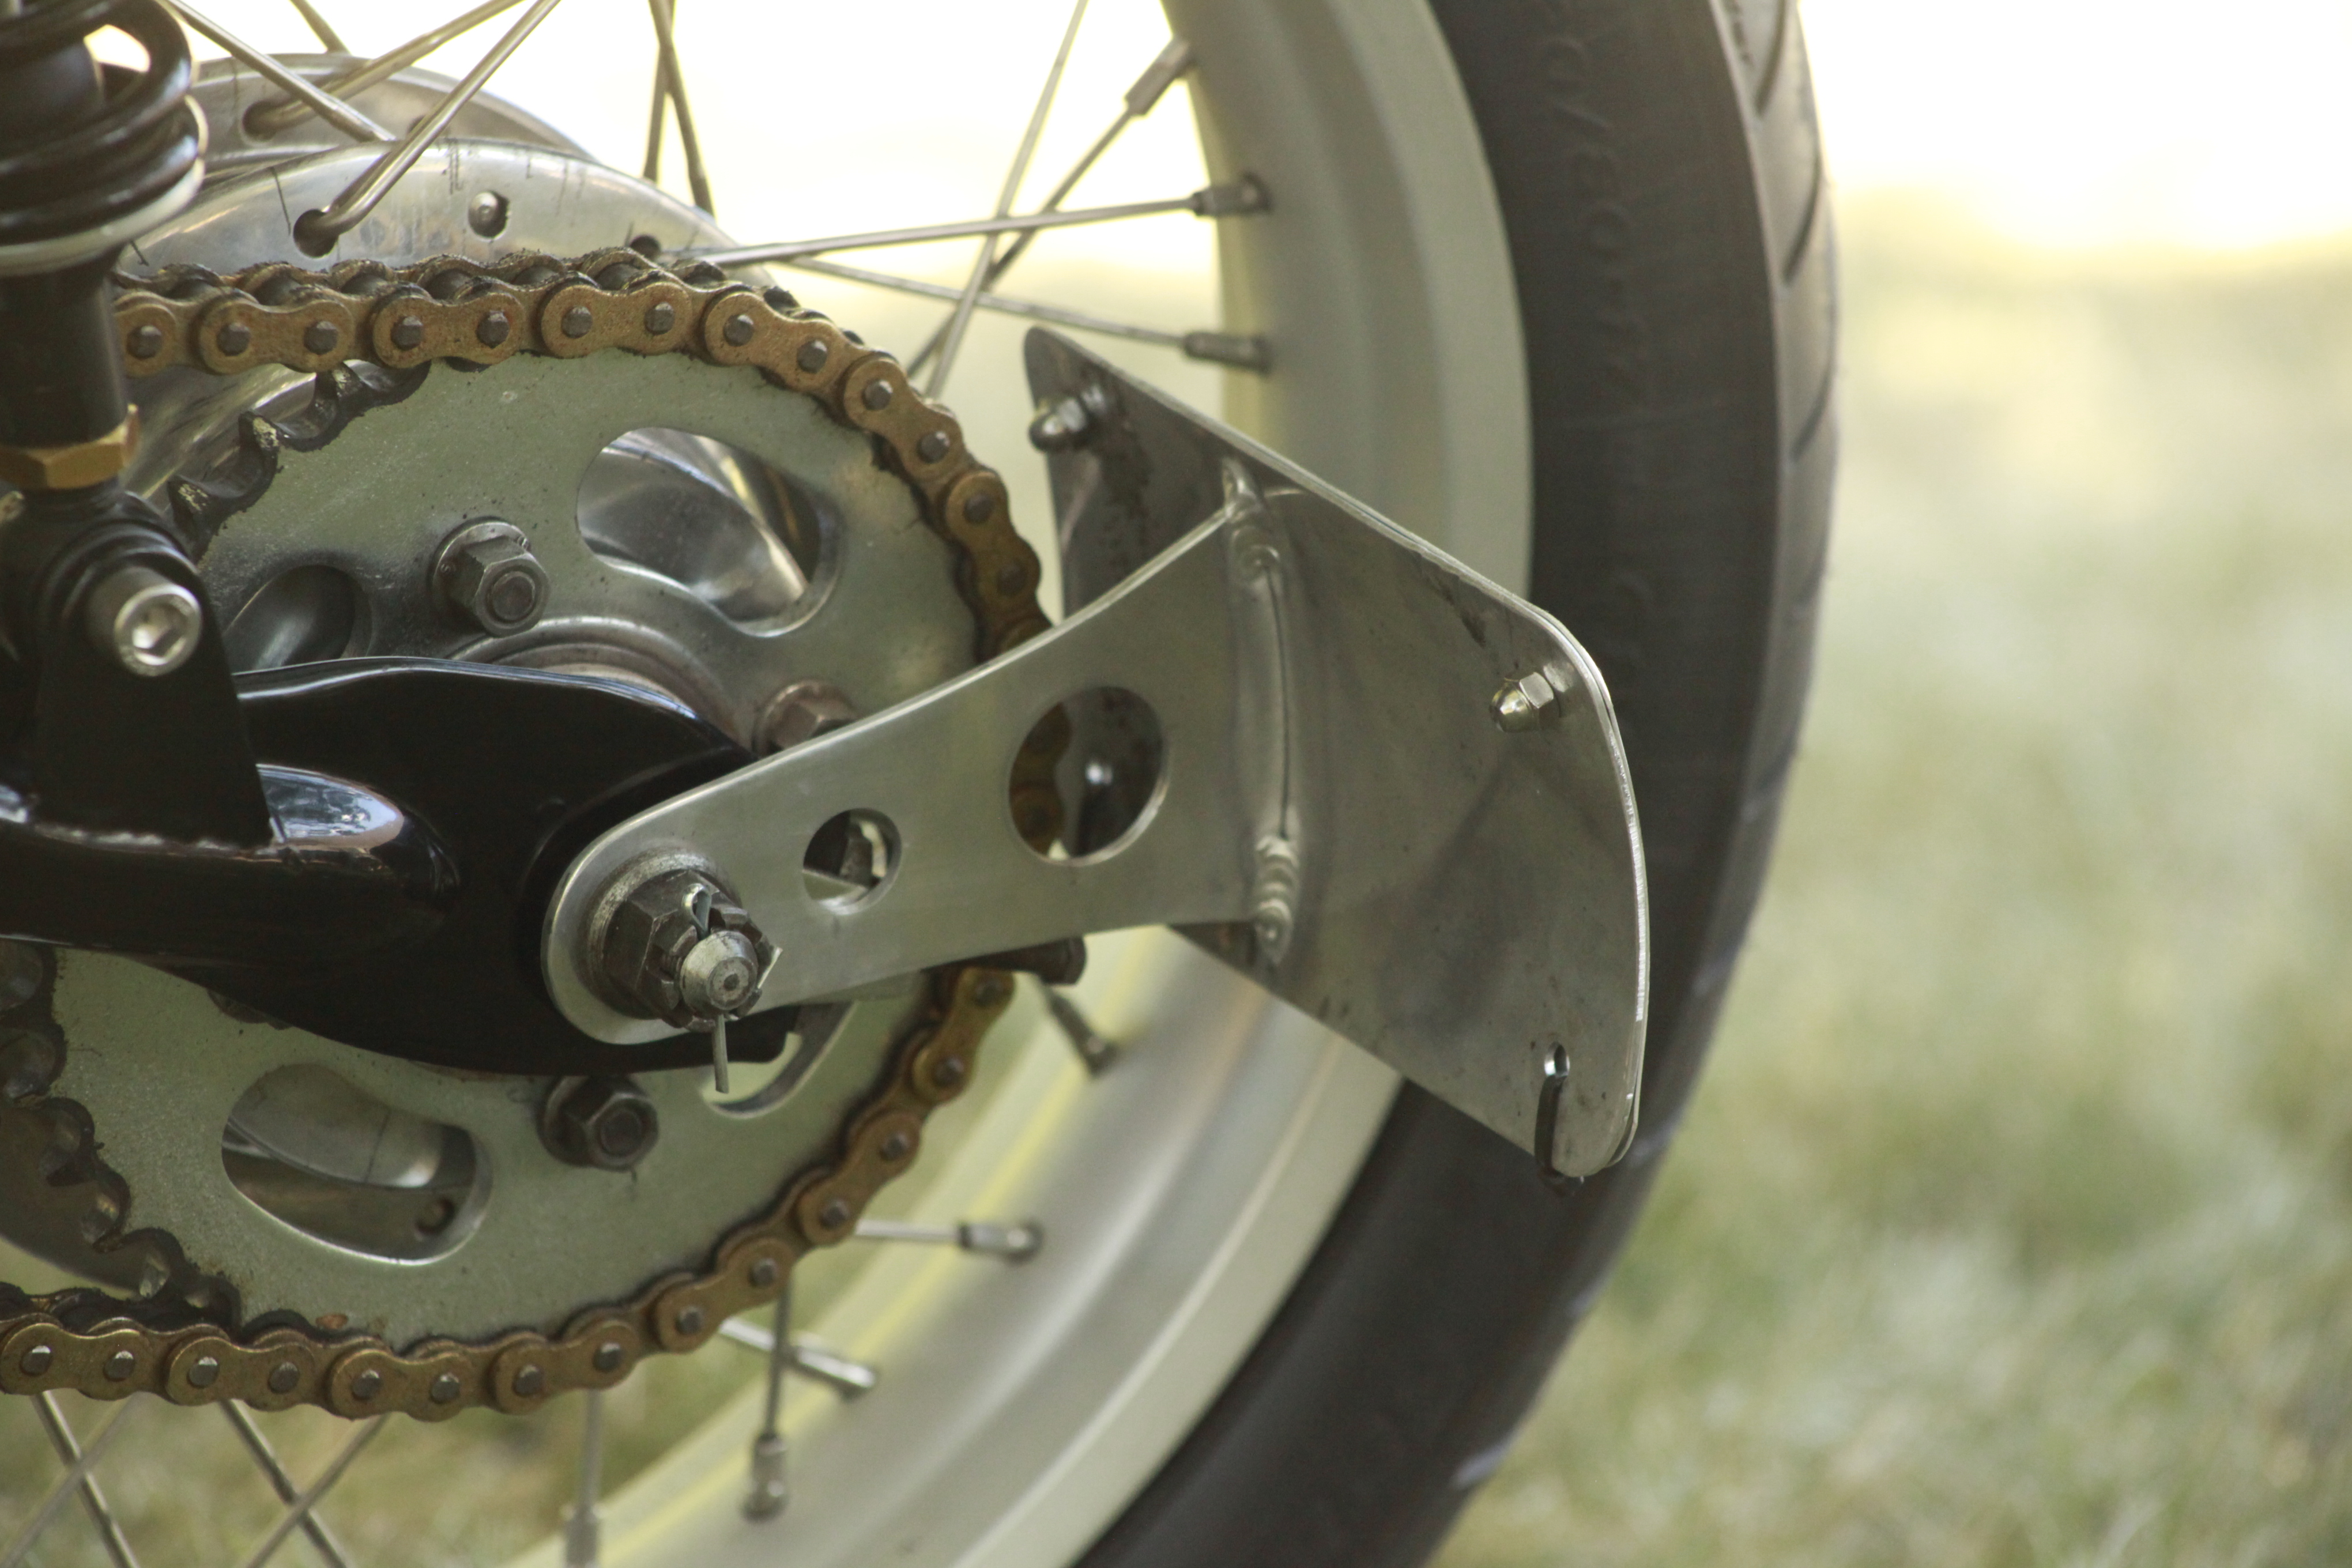
License Plate Frames
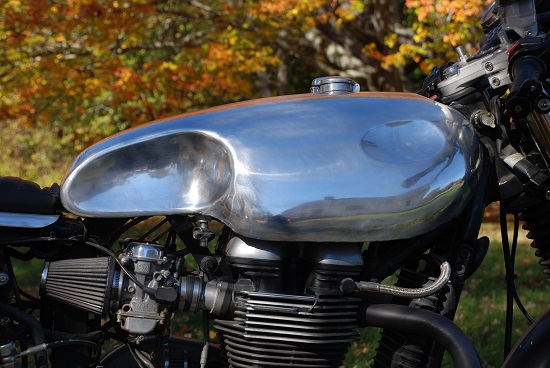
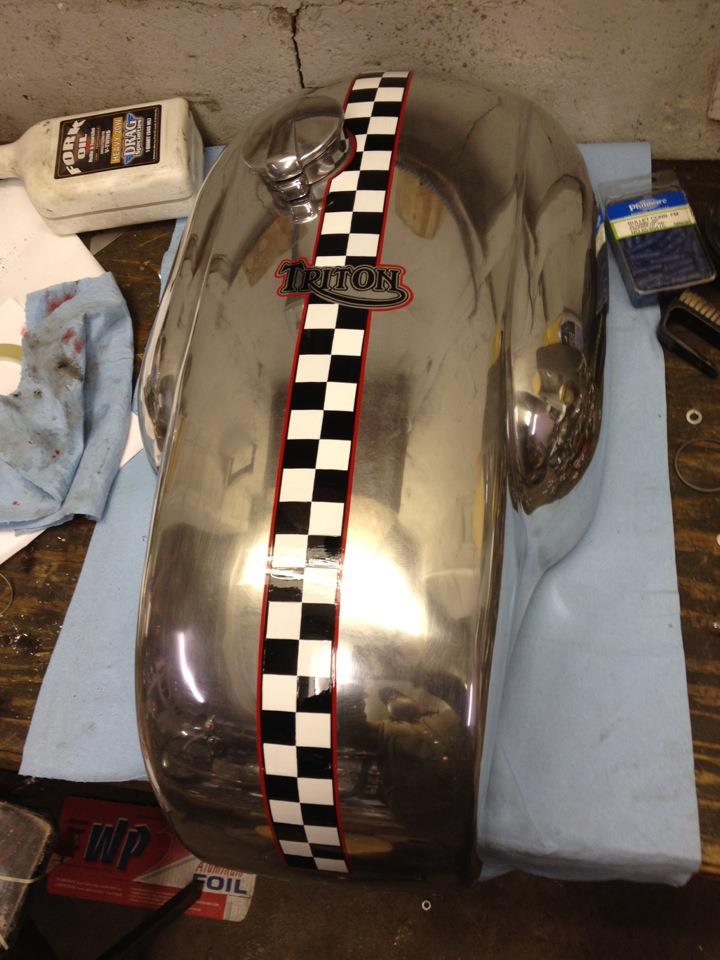
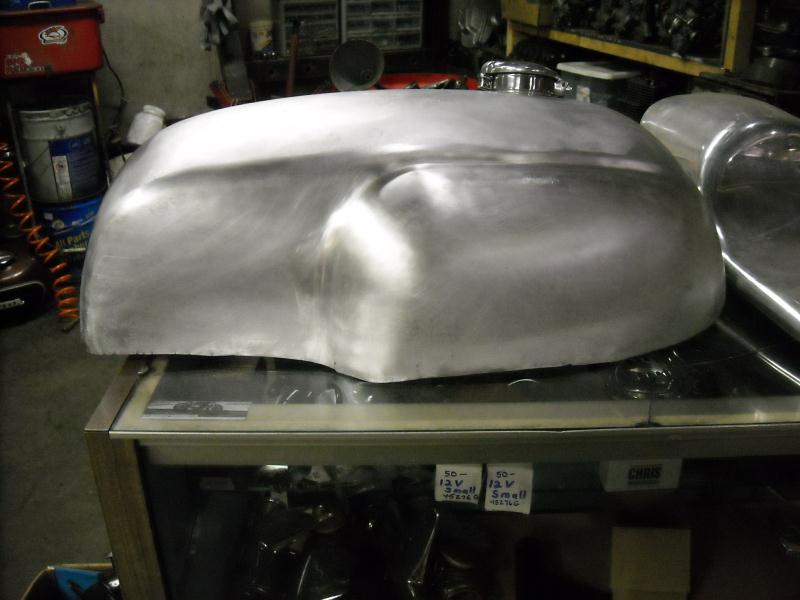
Triumph "Sprint" Style Alloy Tank
Tanks
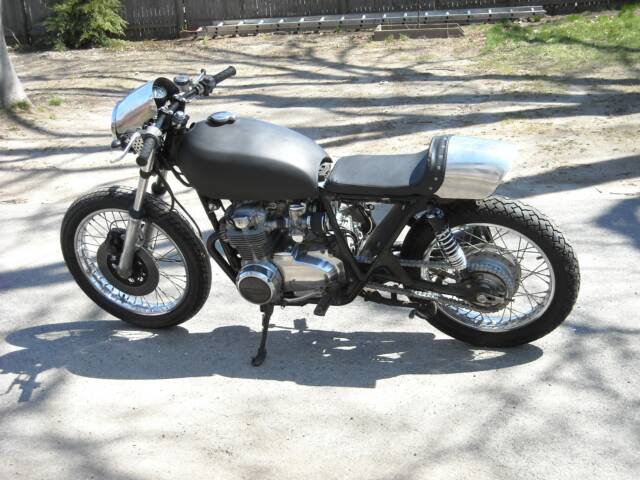
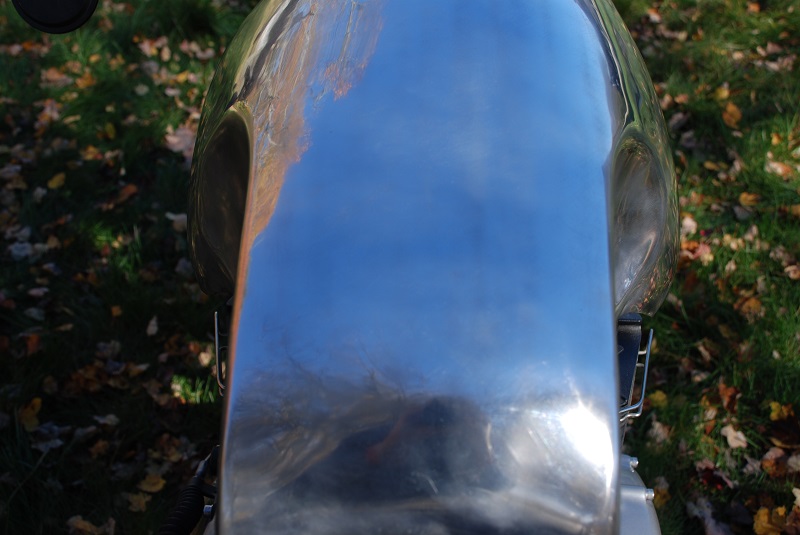
Seats
Side Covers
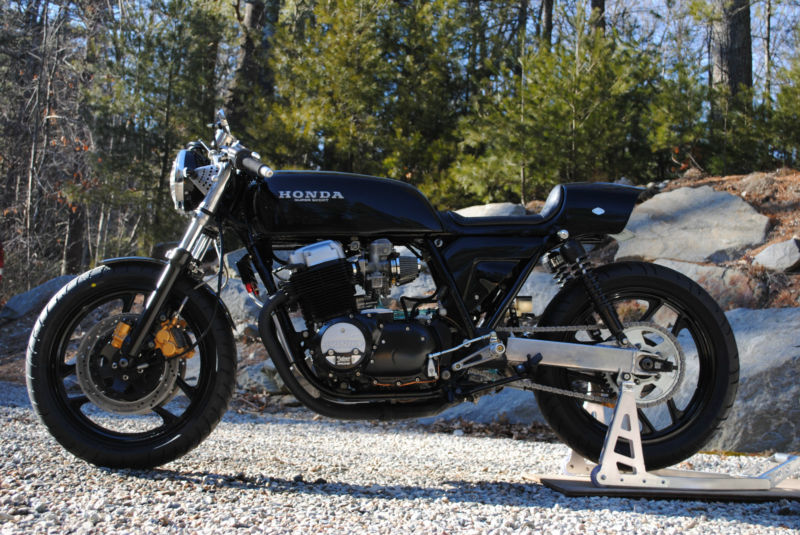
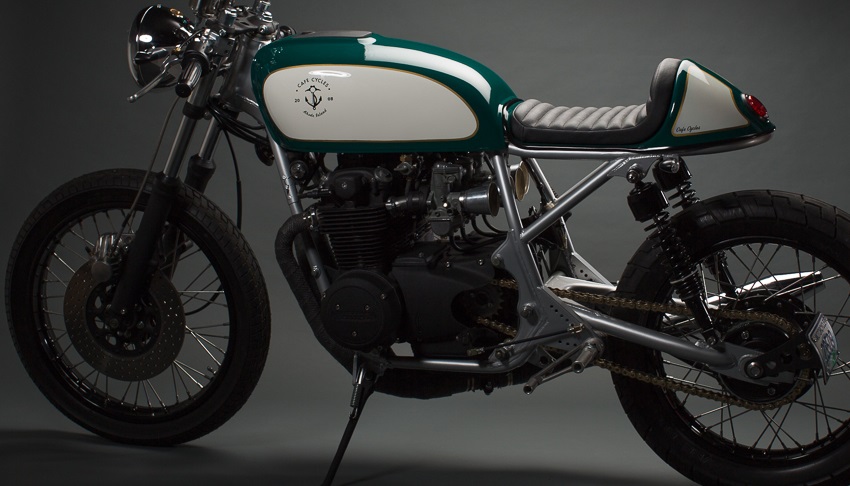
Race inspired, vintage motorcycles